RealityKit Motion Capture and Apple’s future iPhone including a time-of-flight camera

Apple analyst Ming-Chi Kuo claiming in his latest report that two of the 2020 iPhones will feature a rear time-of-flight (ToF) 3D depth sensor for better augmented reality features and portrait shots, via MacRumors.

“It’s not the first we’ve heard of Apple considering a ToF camera for its 2020 phones, either. Bloomberg reported a similar rumor back in January, and reports of a 3D camera system for the iPhone have existed since 2017. Other companies have beaten Apple to the punch here, with several phones on the market already featuring ToF cameras. But given the prevalence of Apple’s hardware and the impact it tends to have on the industry, it’s worth taking a look at what this camera technology is and how it works.

What is a ToF sensor, and how does it work?

Time-of-flight is a catch-all term for a type of technology that measures the time it takes for something (be it a laser, light, liquid, or gas particle) to travel a certain distance.

In the case of camera sensors, specifically, an infrared laser array is used to send out a laser pulse, which bounces off the objects in front of it and reflects back to the sensor. By calculating how long it takes that laser to travel to the object and back, you can calculate how far it is from the sensor (since the speed of light in a given medium is a constant). And by knowing how far all of the different objects in a room are, you can calculate a detailed 3D map of the room and all of the objects in it.

The technology is typically used in cameras for things like drones and self-driving cars (to prevent them from crashing into stuff), but recently, we’ve started seeing it pop up in phones as well.”

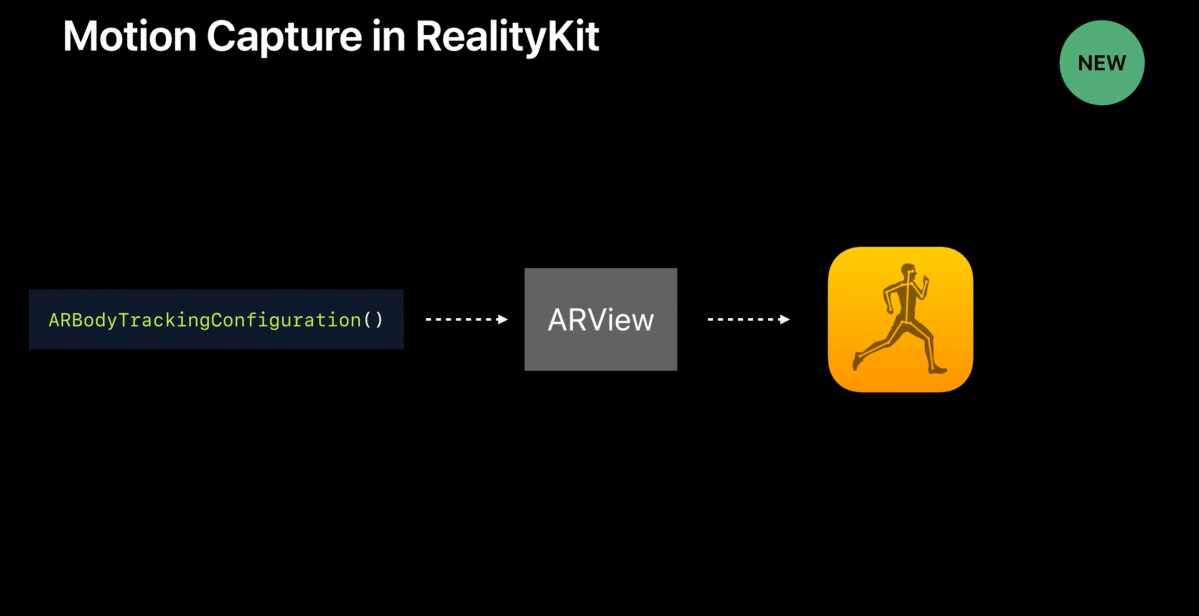
The current state of ARKit 3 and an observation

Screen Shot 2019-07-29 at 12.07.16 PM.png

ARKit 3 has an ever-increasing scope, and of particular interest to me are those AR features which under the hood rely upon machine learning, namely Motion Capture.

Today, ARKit 3 uses raycasting as well as ML Based Plane Detection on awake or when the app using ARKit 3 is initially opened in order to place the floor, for example.

Check the video below. In it, I’m standing in front of my phone which is propped up on a table.

In this video, I’m using motion capture via an iPhone XR. My phone is sitting on a surface (namely the table) that it has determined is the floor plane, and as a result, you’ll notice that our avatar, once populated into the scene, has an incorrect notion of where the ground is.

Screen Shot 2019-07-30 at 1.27.20 PM

It’s the hope that new ToF sensor technology will allow for a robust and complete understanding of the layout of objects in the room and the floor. Such that, for the same context, the device is able to tell that it is sitting on a table yet, the floor is not that plane but the one further away in the real world scene before it.


Source:
The Verge, “Apple’s future iPhone might add a time-of-flight camera — here’s what it could do”

Design Iteration for Oculus Go


Design iteration when building for the Oculus Go

With 6 degrees of freedom headsets like the Oculus Rift and HTC Vive, when working in Unreal or Unity3d, it takes only a push of the play button to test your application in the headset.

There are advantages to seeing your scene from within your headset such as how your first-person perspective is developing, checking performance metrics in HUD, checking in on rendering weirdness, or correcting for relative spacing. However, the constraint of having to deploy by building and running to the Oculus Go each time we needed to check something can lessen your appetite for quick checks like this. Besides, sometimes is not even necessary.

That’s why a quick way of iterating on your scene using traditional desktop inputs is nice. Typically duplicating a currently under-construction scene into two versions. One called “site tour” for example and another called “site tour desktop”. The naming convention splits up functionality so that when you need to test something using mouse and keyboard you quickly hop into the “site tour desktop” scene. Some example mappings include UI navigation with a pointer or locomotion. The UI navigation can be done using the left mouse button and cursor instead of shipping to Go and using the hand controller. The locomotion can be done using your keys ‘w’,’a’,’s’, and ‘d’, as is common to most FPS games, to move around the space and the mouse to click and drag to move your head instead of having to teleport.

Diving deeper on the locomotion example

By throwing on headphones and using a Fly script applied to the Main Camera to test quickly using WASD within the Unity editor, you’ll be able to check relevant aspects of your lighting, audio, animations, etc without needing to wear the Go.
sample:

void Update()
{

    if (Input.GetMouseButton(0))
{
yaw += Input.GetAxis(“Mouse X”) * lookSpeed;
pitch += Input.GetAxis(“Mouse Y”) * lookSpeed;
pitch = Mathf.Clamp(pitch, -90.0f, 90.0f);
}

transform.localRotation = Quaternion.AngleAxis(yaw, Vector3.up);
transform.localRotation *= Quaternion.AngleAxis(pitch, Vector3.left);

transform.position += transform.forward * moveSpeed * Input.GetAxis(“Vertical”);
transform.position += transform.right * moveSpeed * Input.GetAxis(“Horizontal”);
transform.position += transform.up * 3 * moveSpeed * Input.GetAxis(“Mouse ScrollWheel”);

}

For the purposes of testing out spatial audio, I’ve noticed it’s great––mimicking head movement by panning using the mouse x.


Turning to the Oculus Rift

For what it’s worth in a post that’s supposed to be about the Oculus Go design iteration loop. In progress with an Oculus Go app currently, I and a friend find the utility of swapping a project over to the Oculus Rift to be really helpful.

What this does for you is, allow you to take advantage of the Oculus Rift during Play Mode (in Unity) which gives way to much faster iteration time. Perfect for quick fixes to code and cohesion of various parts (for example, like Teleportation and UI).

Rapid Worldbuilding with Probuilder

Rapid Worldbuilding with ProBuilder

ProBuilder is totally free available through the package manager.
If you’re using 2017 or 5.6 you’ll get critical bug fixes. However, from 2018 onwards there’s more support, using 2018.1.0b3 I dealt with a considerably severe crash bug, so update to b12 IMO.
Polybrush and Progrids are things you’ll have to go get individually from Unity.
To replace Probuilder objects with polished geo you can play around with the Unity FBX exporter

Real Quick Prototyping Demo

  • Main Probuilder window (found by going to tools>probuilder>probuilder window) – has tools and Probuilder is designed so that you can ignore it when you’ a new to using Probuilder
  • Face, Object, etc. mode – will allow you to touch only the variable selectable
  • A good way to learn the tool is to go through the main probuilder window and check the shortcuts
  • It really helps to keep things as simple as possible from the get go. Don’t add tons of polys
  • Shape selector will help you quickly make stuff
  • Connect edges and insert edge loop
  • Holding shift to grab multiple
  • ‘R’ will give you scale mode
  • Extrude is a fantastic way to add geometry
  • Grid Size – keep at 1 for 1 meter this is important for avoiding mistakes when creating geo and knowing your angles
  • Use the ortho top down view to see if your geo fits your grid
  • Detach face settings is a way to split geo selected but it’s still part of your item
  • Detach face using a different setting to create a new game object
  • Pivot point needs to be rejigged often (solutions: object action or set it to a specific element using “Center Pivot”)
  • center pivot and put it on the grid by using progrids
  • Settings changes become the default
  • Use the Poly Shape tool to spin up a room + extrude quickly
  • Merge objects
  • think in terms of Quads
  • try selecting to vertices and connect (Alt + E) them
  • select hidden as a toggle is a great option, because in 3D you are seeing an orthographic projection so you will click on the thing that is drawn closest to the camera!
  • Crafting a doorway, can be done using extrude and grid meter changes, toggle the views (X, Y, and Z) to help with that
  • hold v to make geo snap; this will save you time later on
  • Alt+C will collapse verts (as in the ramp option where the speaker started with a cube)
  • Weld vs. Collapse — weld great for merging to hallways, or collapse which is more like pushing all verts within a specific distance together
  • Grow selection and smooth group

Polybrush Stuff

  • Add more detail with loops or subdivide (smart connect)
  • Polybrush will let you sculpt, smooth, texture blend, scatter objects, etc.
  • Modes like smoothing
  • todo explore something prefabs
  • N-gons are bad because everything is made up of tris

Texturing stuff

Open up the UV editor
  • By default, everything is on auto which means that on in-scene handles toggle
  • When you’re prototyping this allows you to not use fancy toolbar stuff

Question

  • Why is progrids helpful? Short answer: if you’re not super familiar with 3D modeling and creation software (i.e. Maya) you can create simple geo without leaving Unity editor.
  • Why would you be obsessive about making sure your geo fits your 1 meter grid size? Short answer: This helps you avoid errors with geo creation such as horrid angles and hidden faces.
  • Can you talk a little bit about automation with Probuilder?